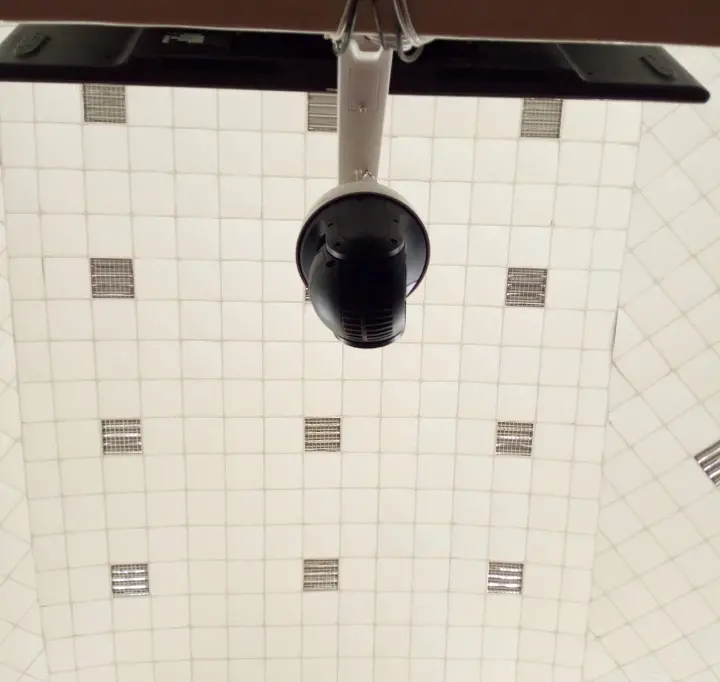
Troubleshooting Color Inaccuracies in CCTV Camera Footage
CCTV Cameras Color Problems. Color inaccuracies in CCTV footage can be frustrating, especially when you rely on clear and accurate video for security purposes. Whether your camera displays unnatural hues, washed-out colors, or strange tints, several factors could be at play. In this guide, we’ll explore common causes of color distortion in CCTV cameras and provide step-by-step solutions to fix them.
Common Causes of Color Inaccuracies in CCTV Cameras
Before diving into fixes, it’s essential to understand what might be causing color issues in your surveillance footage:
1. Improper Camera Positioning (e.g., Facing Reflective Surfaces or Bright Lights)
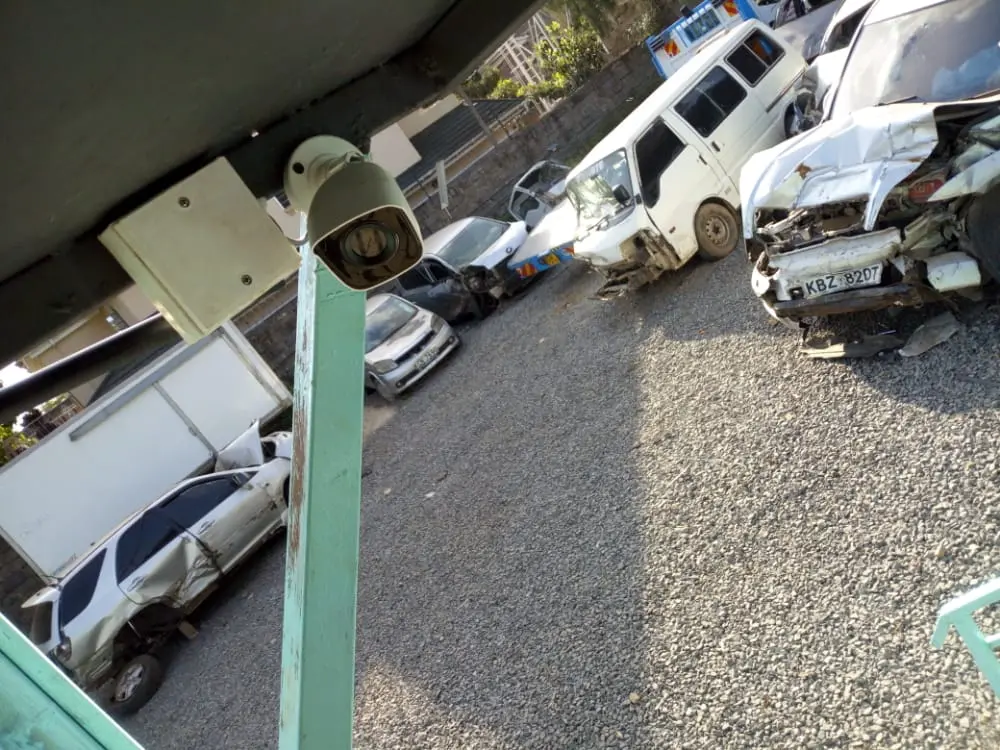
Poor camera placement is one of the most common reasons for CCTV Cameras Color Problems. If the lens is pointed directly at reflective surfaces like glass, mirrors, or polished metal, it can create glare or washed-out colors due to light bouncing back into the sensor. Similarly, positioning a camera toward intense light sources (such as direct sunlight, streetlights, or LED signs) can cause overexposure, leading to unnatural color shifts or loss of detail.
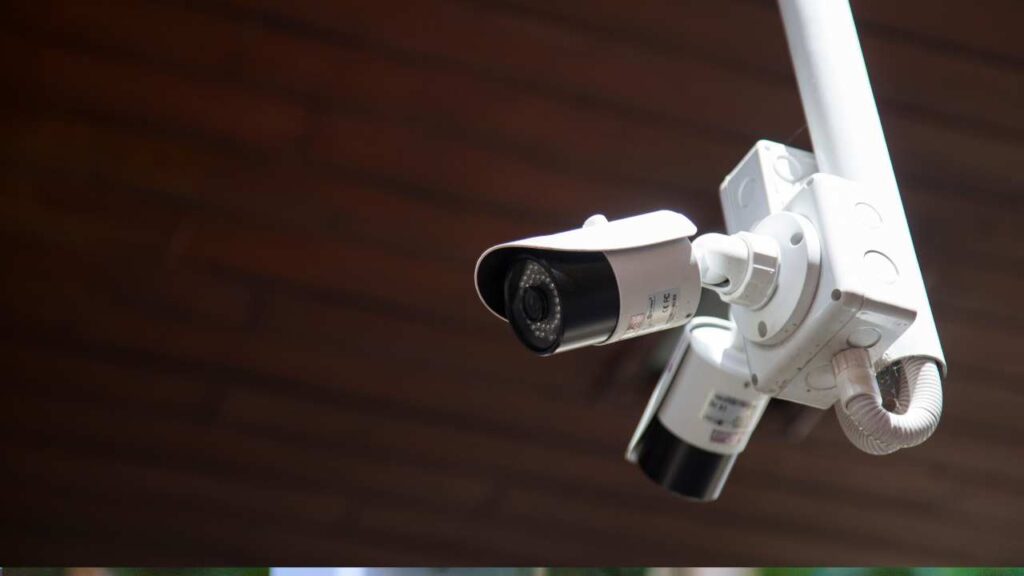
To avoid this, ensure the camera is angled away from reflective materials and strong light sources while still maintaining optimal coverage of the surveillance area.
2. Incorrect White Balance Settings
White balance ensures that colors in your footage appear natural under different lighting conditions. If set incorrectly, the camera may struggle to interpret colors accurately, resulting in a blue (cool) or yellow (warm) tint. For example, an indoor camera set to “Outdoor” white balance may produce overly warm tones under artificial lighting. Most cameras offer auto white balance (AWB), but manual adjustment is often necessary for consistent accuracy—especially in mixed-lighting environments. Proper calibration based on the primary light source (daylight, fluorescent, incandescent, etc.) is key to maintaining true-to-life colors.
3. Malfunctioning IR Cut Filter
Many CCTV cameras use an IR cut filter to block infrared light during the day, ensuring accurate color reproduction. If this filter gets stuck or fails, daytime footage may appear pink, purple, or overly saturated. This issue is common in cheaper cameras or those exposed to extreme temperature fluctuations. A quick test involves covering the camera’s light sensor to force night vision mode—if the colors remain distorted, the IR cut filter is likely faulty. In such cases, a camera reset or professional repair may be necessary.
4. Environmental Factors (Extreme Temperatures, Humidity, Dust)
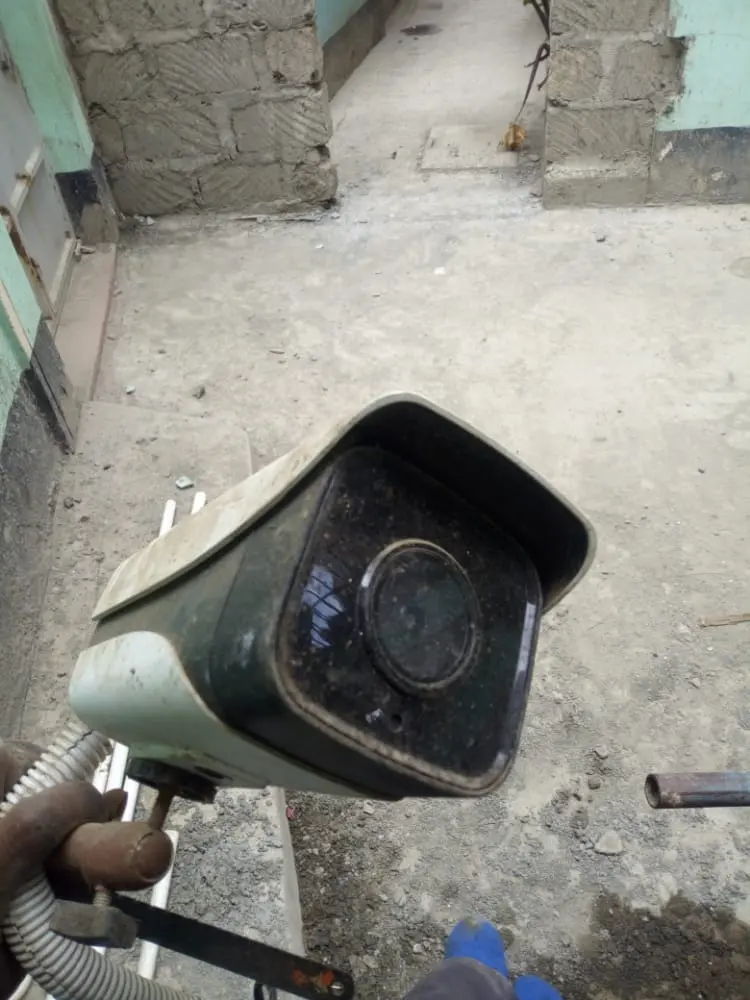
Outdoor cameras are particularly vulnerable to environmental conditions. High temperatures can cause overheating, leading to erratic color performance, while excessive humidity or condensation may create a foggy, discolored image. Dust and dirt buildup on the lens can also distort colors and reduce clarity. To mitigate these issues, use weatherproof camera housings, install protective covers, and perform regular maintenance to keep the lens clean. Proper ventilation and placement away from direct heat sources can further enhance performance.
5. Faulty or Loose Cable Connections
A weak or damaged video cable can degrade signal quality, leading to flickering, color banding, or inconsistent hues. This is especially common with analog cameras using coaxial cables or long Ethernet runs in IP systems. Loose connectors, corrosion, or cable bends beyond the recommended radius can also disrupt the signal. Always check connections for tightness and integrity, and replace damaged cables with high-quality, shielded alternatives. For long-distance setups, signal boosters or fiber optic solutions may be necessary.
6. Software or Firmware Glitches
Like any electronic device, CCTV cameras rely on software to process images correctly. Outdated firmware, bugs, or corrupted settings can lead to color inaccuracies, such as sudden tint shifts or incorrect exposure. Regularly updating the camera’s firmware ensures optimal performance and access to bug fixes. If issues persist after a firmware update, a factory reset may help restore default settings. For persistent problems, contacting the manufacturer’s support team is advisable.
Understanding these root causes will help you diagnose and resolve color issues efficiently, ensuring your CCTV system delivers clear, accurate footage. Would you like additional details on any specific issue?
Now, let’s explore how to troubleshoot each of these issues.
1. Adjust Camera Position and Lighting
Problem: If your CCTV camera is pointed directly at reflective surfaces (like glass, mirrors, or polished metal) or strong light sources (such as sunlight or bright LED lights), it can cause glare, overexposure, or color distortion.
Solution:
- Reposition the camera to avoid direct reflections.
- Adjust the angle to prevent lens flare from bright lights.
- If possible, use diffused lighting instead of harsh, direct light sources.
2. Check White Balance Settings
Problem: Incorrect white balance can make footage appear too blue, yellow, or washed out. This happens when the camera fails to adjust to the lighting conditions properly.
Solution:
- Auto White Balance (AWB): Try enabling AWB if your camera supports it.
- Manual White Balance: If colors still look off, manually set the white balance:
- For outdoor cameras: Use the “Outdoor” setting or adjust between 5500K–6500K (daylight range).
- For indoor cameras: Match the setting to the primary light source (e.g., fluorescent, incandescent, or LED).
3. Inspect the IR Cut Filter
Problem: Many CCTV cameras have an IR cut filter that blocks infrared light during the day to maintain accurate colors. If this filter malfunctions, you may notice:
- A pink or green tint in daytime footage
- Colors appearing oversaturated or unnatural
How to Test the IR Cut Filter:
- Cover the light sensor (usually near the lens) to simulate night mode.
- If the camera switches to black-and-white (IR mode), the filter is working.
- If colors remain distorted, the IR cut filter may be stuck or damaged.
Solution:
- Try power cycling the camera (turn it off and on).
- If the issue persists, contact the manufacturer for repair or replacement.
4. Evaluate Environmental Factors
Problem: Extreme weather conditions (heat, cold, humidity) or airborne particles (dust, smoke) can affect camera performance, leading to:
- Foggy or hazy footage
- Color shifts due to moisture or condensation
Solution:
- Use weatherproof camera housings for outdoor installations.
- Ensure proper ventilation to prevent overheating.
- Clean the lens regularly to avoid dust buildup.
5. Check Cable Connections and Lengths
Problem: Loose, damaged, or excessively long cables can degrade video signal quality, leading to:
- Flickering colors
- Poor image clarity
Solution:
- Inspect all cables for damage or loose connections.
- Ensure cables do not exceed the manufacturer’s recommended length (usually under 300ft for analog, longer for IP cameras with PoE).
- Replace faulty cables with high-quality shielded ones.
6. Restart or Power Cycle the Camera
Problem: Sometimes, a simple software glitch can cause color issues.
Solution:
- Restart the camera via the DVR/NVR interface.
- Power cycle by unplugging the camera for 30 seconds and reconnecting it.
When to Seek Professional Help
If none of these steps resolve the issue:
- Consult the camera’s user manual for model-specific troubleshooting.
- Contact the manufacturer’s customer support (e.g., Lorex, Hikvision, Dahua).
- Consider professional CCTV servicing if hardware failure is suspected.
Final Thoughts
Color accuracy is crucial for effective surveillance. By following these troubleshooting steps—adjusting lighting, checking white balance, inspecting the IR filter, and ensuring proper installation—you can restore true-to-life colors in your CCTV footage.


