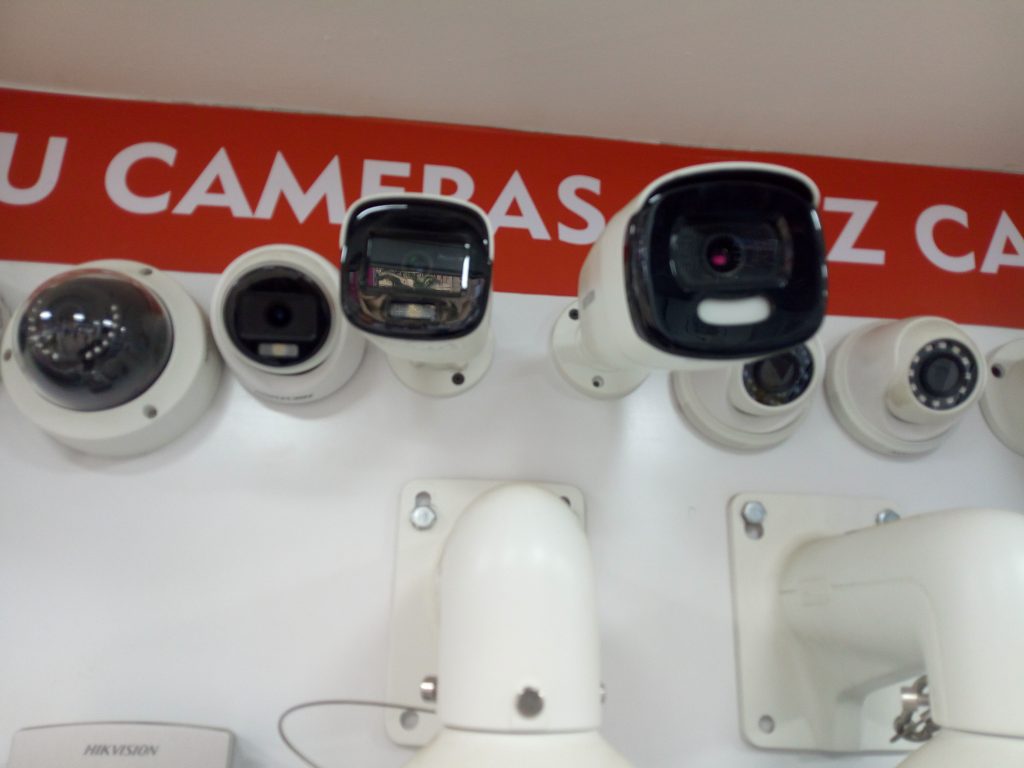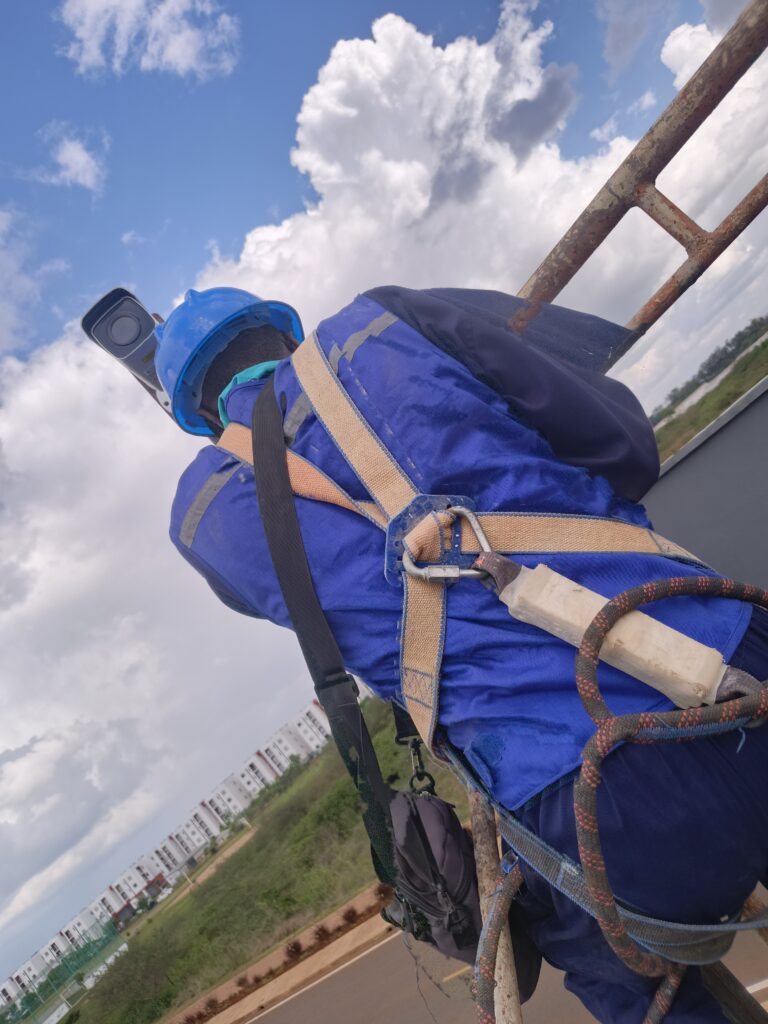
Health of a CCTV hard disk. Our CCTV repair services include checking the health of CCTV hard disk. Extending the life of your CCTV hard drive in a CCTV recorder? A typical mechanical hard drive will last on average 3 to 4 years. However, it is often the case with hard drives used in CCTV recorders for their life to be significantly shorter. Some users will even find themselves replacing hard drives in CCTV recorders every year. When a hard drive fails in a CCTV recorder it can result in loss of important data and typically you won’t realize until it’s too late because you need to view footage from your system. There are some simple measures you can take to extend the life of a hard drive in a CCTV recorder. You can now reach us on +254-770- 988-996 for CCTV related repair and maintenance.
CCTV repair. Signs of A Failing Hard Drive.
Here are a few examples of situations that may indicate your hard drive has failed.
- If you try to access recorded video surveillance footage and you cannot find any video in the history or playback section of your DVR.
- When DVR’s boot-up there is a “test” phase that they run through to check for any errors prior to going into the programmed recording mode. If the DVR is stalling during this phase it could indicate a problem with the hard drive.
CCTV Repair. How to protect your CCTV Hard drive from failing?
You can protect yourself against hard drive failure by taking a few precautions. The first step is to have a backup. By having a completed, current backup, you protect yourself against potential data loss.
The next step is to secure the environment around your hard drive from threats. Many things can disturb a hard drive. These include dust, heat, weather, theft, electrical surges, and traveling hazards.
Lastly, replace your hard drive after 3-5 years. As you just read, hard drives fail over time. By moving your data onto a new hard drive, you create data redundancy and give yourself more time to safely store your data.
Complete the following steps
- When the DVR is powered down, Remove the cover from the DVR.
- Inside the DVR you will find 2 main components, One is the Motherboard, the other is the SATA Hard drive.
- At the back of the SATA Hard drive, you will see 2 connectors. Remove both of them from the back of the hard drive.
- Now try and boot the DVR again.
- Did the DVR boot up fine this time?
- Are you able to navigate around the DVR’s menu without issue?