Starlink Performance (Gen 2) Kit – Setup Guide
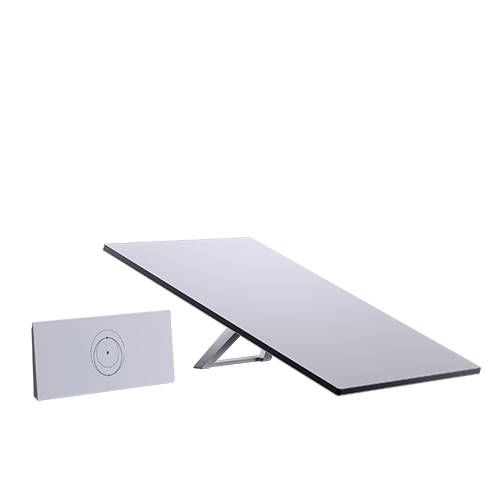
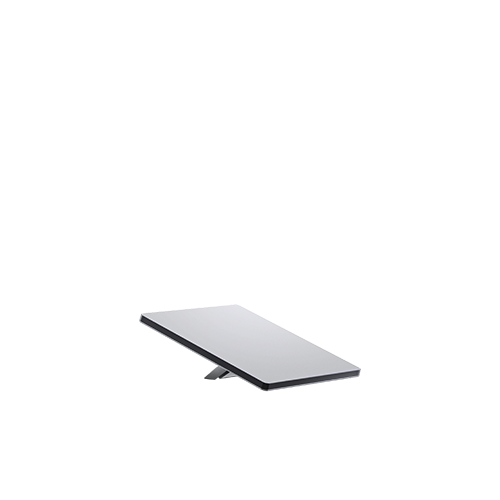
Starlink Performance (Gen 2) Kit Installation. The Starlink Performance (Gen 2) Kit is a high-performance satellite internet hardware package developed by Starlink (the satellite broadband service from SpaceX) to deliver reliable, high-throughput internet connectivity via low-Earth-orbit satellites. Designed for demanding use cases beyond basic residential internet, this Gen 2 Performance Kit—also known as the Flat High Performance configuration—features a larger, flat phased-array antenna that sees a wider portion of the sky and connects to more satellites simultaneously, which can improve uptime and speeds, especially in challenging environments or mobile scenarios like on vehicles or vessels.
Installing the Starlink Flat High Performance Kit is dependent on your specific installation needs, and may require you to plan ahead.
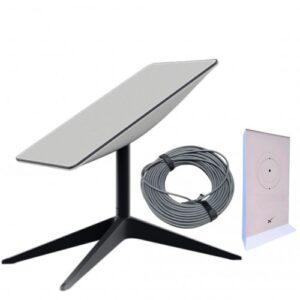
What’s included with my Starlink Kit?
- Starlink Performance (Gen 2)
- 1 Wedge Mount
- 2 Shoulder Bolts
- 2 Machine Screws (13 mm or 1/2″ in Length)
- 4 Sealing Washers
- 1 Silicone Sealant
- 1 Cable Pass Through Kit
- 1 Thread Locker
- 4 Lag Bolts
- 4 Machine Screws ( 25 mm or 1 in Length)
- 4 Blind Hole Nuts
- 10 Washers
- 4 Lock Nuts
Additional Items (not included):
- Drill
- Pencil
- Socket Wrench
- 19 mm (3/4″) Spade Bit
- Hex Keys (sizes including: 3/32″ 1/8″, 3/16″)
- Phillips Head Screwdriver
- Drill Bits (sizes including: 2 mm or 3/32″, 6.5 mm or 1/4″, 13 mm or 1/2″)
- Wrench (7/16″)
- Socket (7/16″)
- Box Cutter
Wedge Mount Install Options
There are a variety of methods to take when installing the Wedge Mount for your Starlink Performance (Gen 2). We recommend reading through each option in detail, found in the setup guide (PDF) to find the most suitable option.
- Option 1: Machine Screws and Nuts – for surfaces with backside access
- Option 2: Lag Bolts – for wood and plywood
- Option 3: Blind Hole Nuts and Machine Screws – for composite surfaces
Once you have completed installing the Wedge Mount with one of the above options, Route your Cable.
Routing your Cable If you want to route your cable through an exterior surface using the provided cable pass through kit, open the Setup Guide listed under “Helpful Tools”. Otherwise route your cable to the interior, then Install Starlink. Note, the included Starlink cable is 25 m (82ft).
Installing Starlink
- Place your Starlink face-down on a clean surface free of debris. Wet shoulder bolt threads with the thread locker and install into threaded holes near the cable port. Use an 1/8” hex key to tighten bolts to hand tight.
- Align shoulder bolts into the keyway on the bottom of the mount. Push down and slide Starlink forward to lock into place.
- Wet threads of the 1/2” long machine screws with thread locker and install into the two remaining holes with two washers to secure Starlink. Use the 3/16” hex key to tighten screws to snug plus 1/4 turn; do not overtighten. Ensure you are using the 1/2” length screws (longer bolts can damage Starlink).
- Plug the Starlink cable into the port on the bottom of the Starlink. Do not make sharp turns with your cable, use a minimum bend radius of 50 mm (2″).
Your Starlink Performance (Gen 2) Kit is now installed and ready to connect!
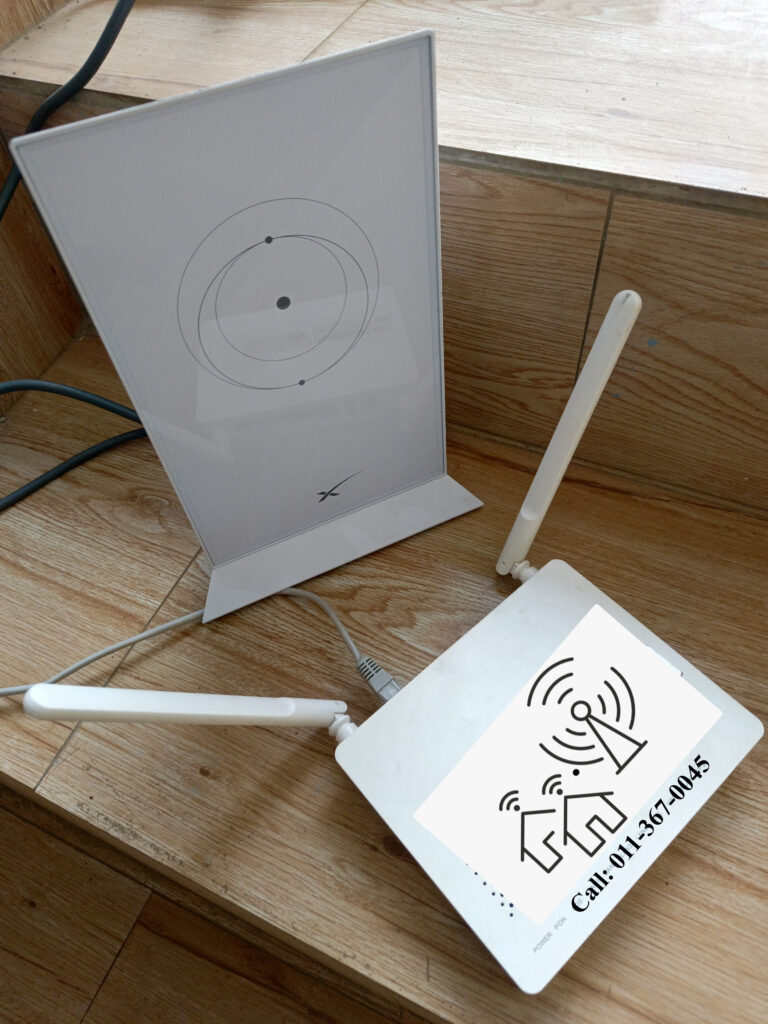
Ready to enjoy fast, reliable internet anywhere in Kenya? Boardtac Solutions is your trusted partner for Starlink supply, professional installation, and after-sales support. From site assessment to clean, secure mounting and activation, we handle it all—so you get seamless connectivity without the hassle. Contact Boardtac Solutions today and get connected with confidence.