Starlink Standard Actuated Kit – Setup Guide
The Starlink Standard Actuated Kit offers a robust satellite internet solution with motorized dish positioning for optimal signal alignment and performance. This installation guide provides easy-to-follow steps to mount, power, and configure your system—helping you achieve reliable high-speed connectivity with minimal effort, whether for home or business use.
1. To get started, find a clear view of the sky
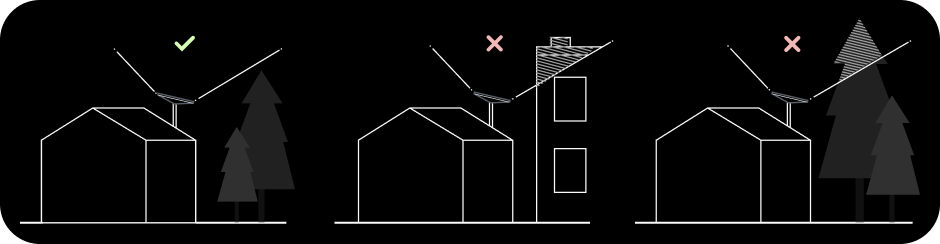
Your Starlink needs a clear view of the sky so it can stay connected with satellites as they move overhead. Objects that obstruct the connection between your Starlink and the satellite, such as a tree branch, pole, or roof, will cause service interruptions. To find a location with a clear view of the sky take the following steps:
a. Download the Starlink App.
b. Use the “Check for Obstructions” tool to find an install location that will deliver the best service.
c. For best results, Starlink should be installed as close to vertical as possible.
If you cannot not find a clear field of view from the ground level, consider installing in an elevated location, like a roof, pole, or wall. Additional mounts and accessories are available for purchase on the Starlink Shop.
2. Install and Power on Starlink
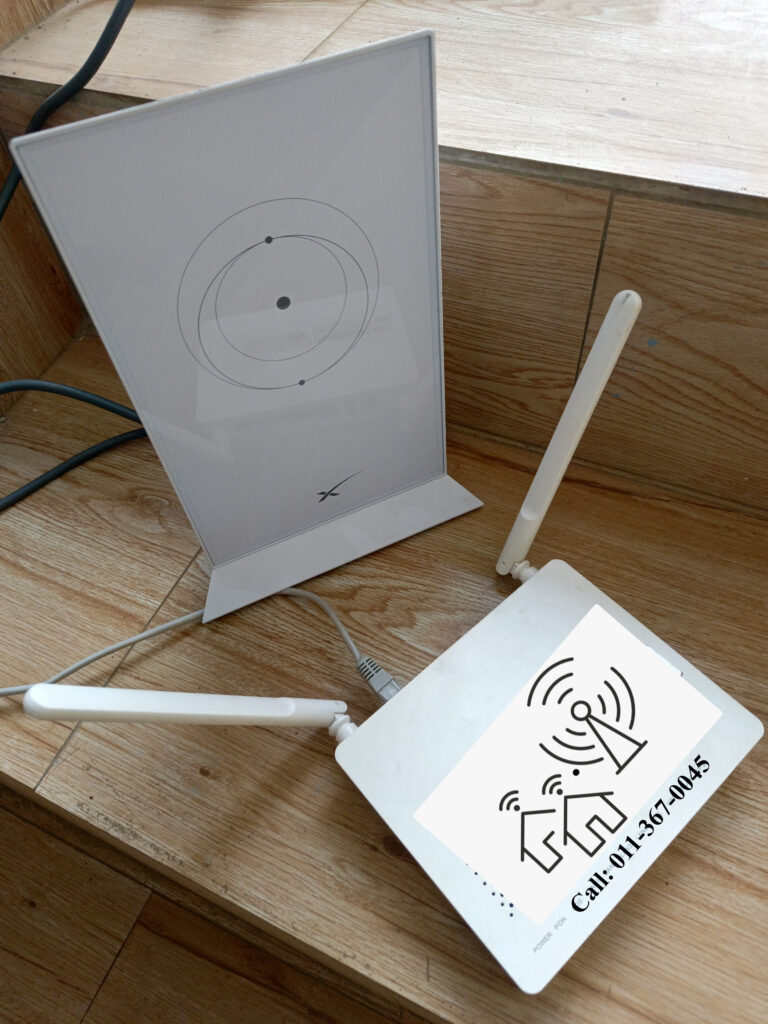
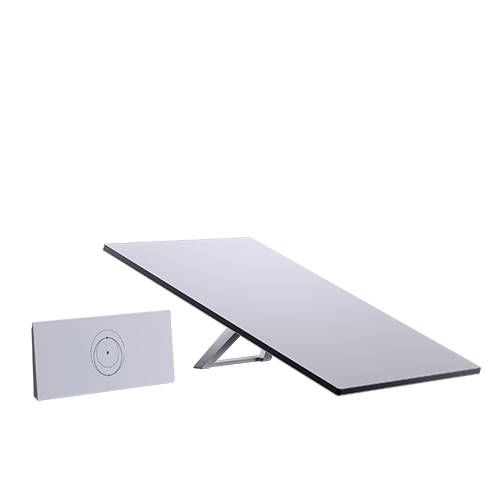
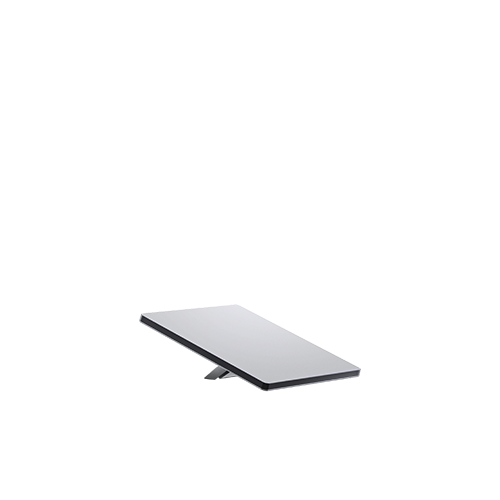
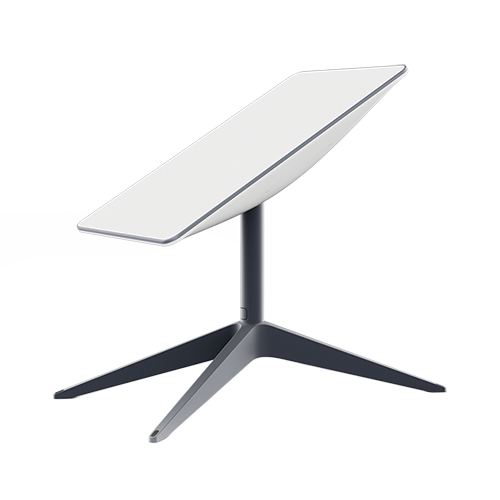
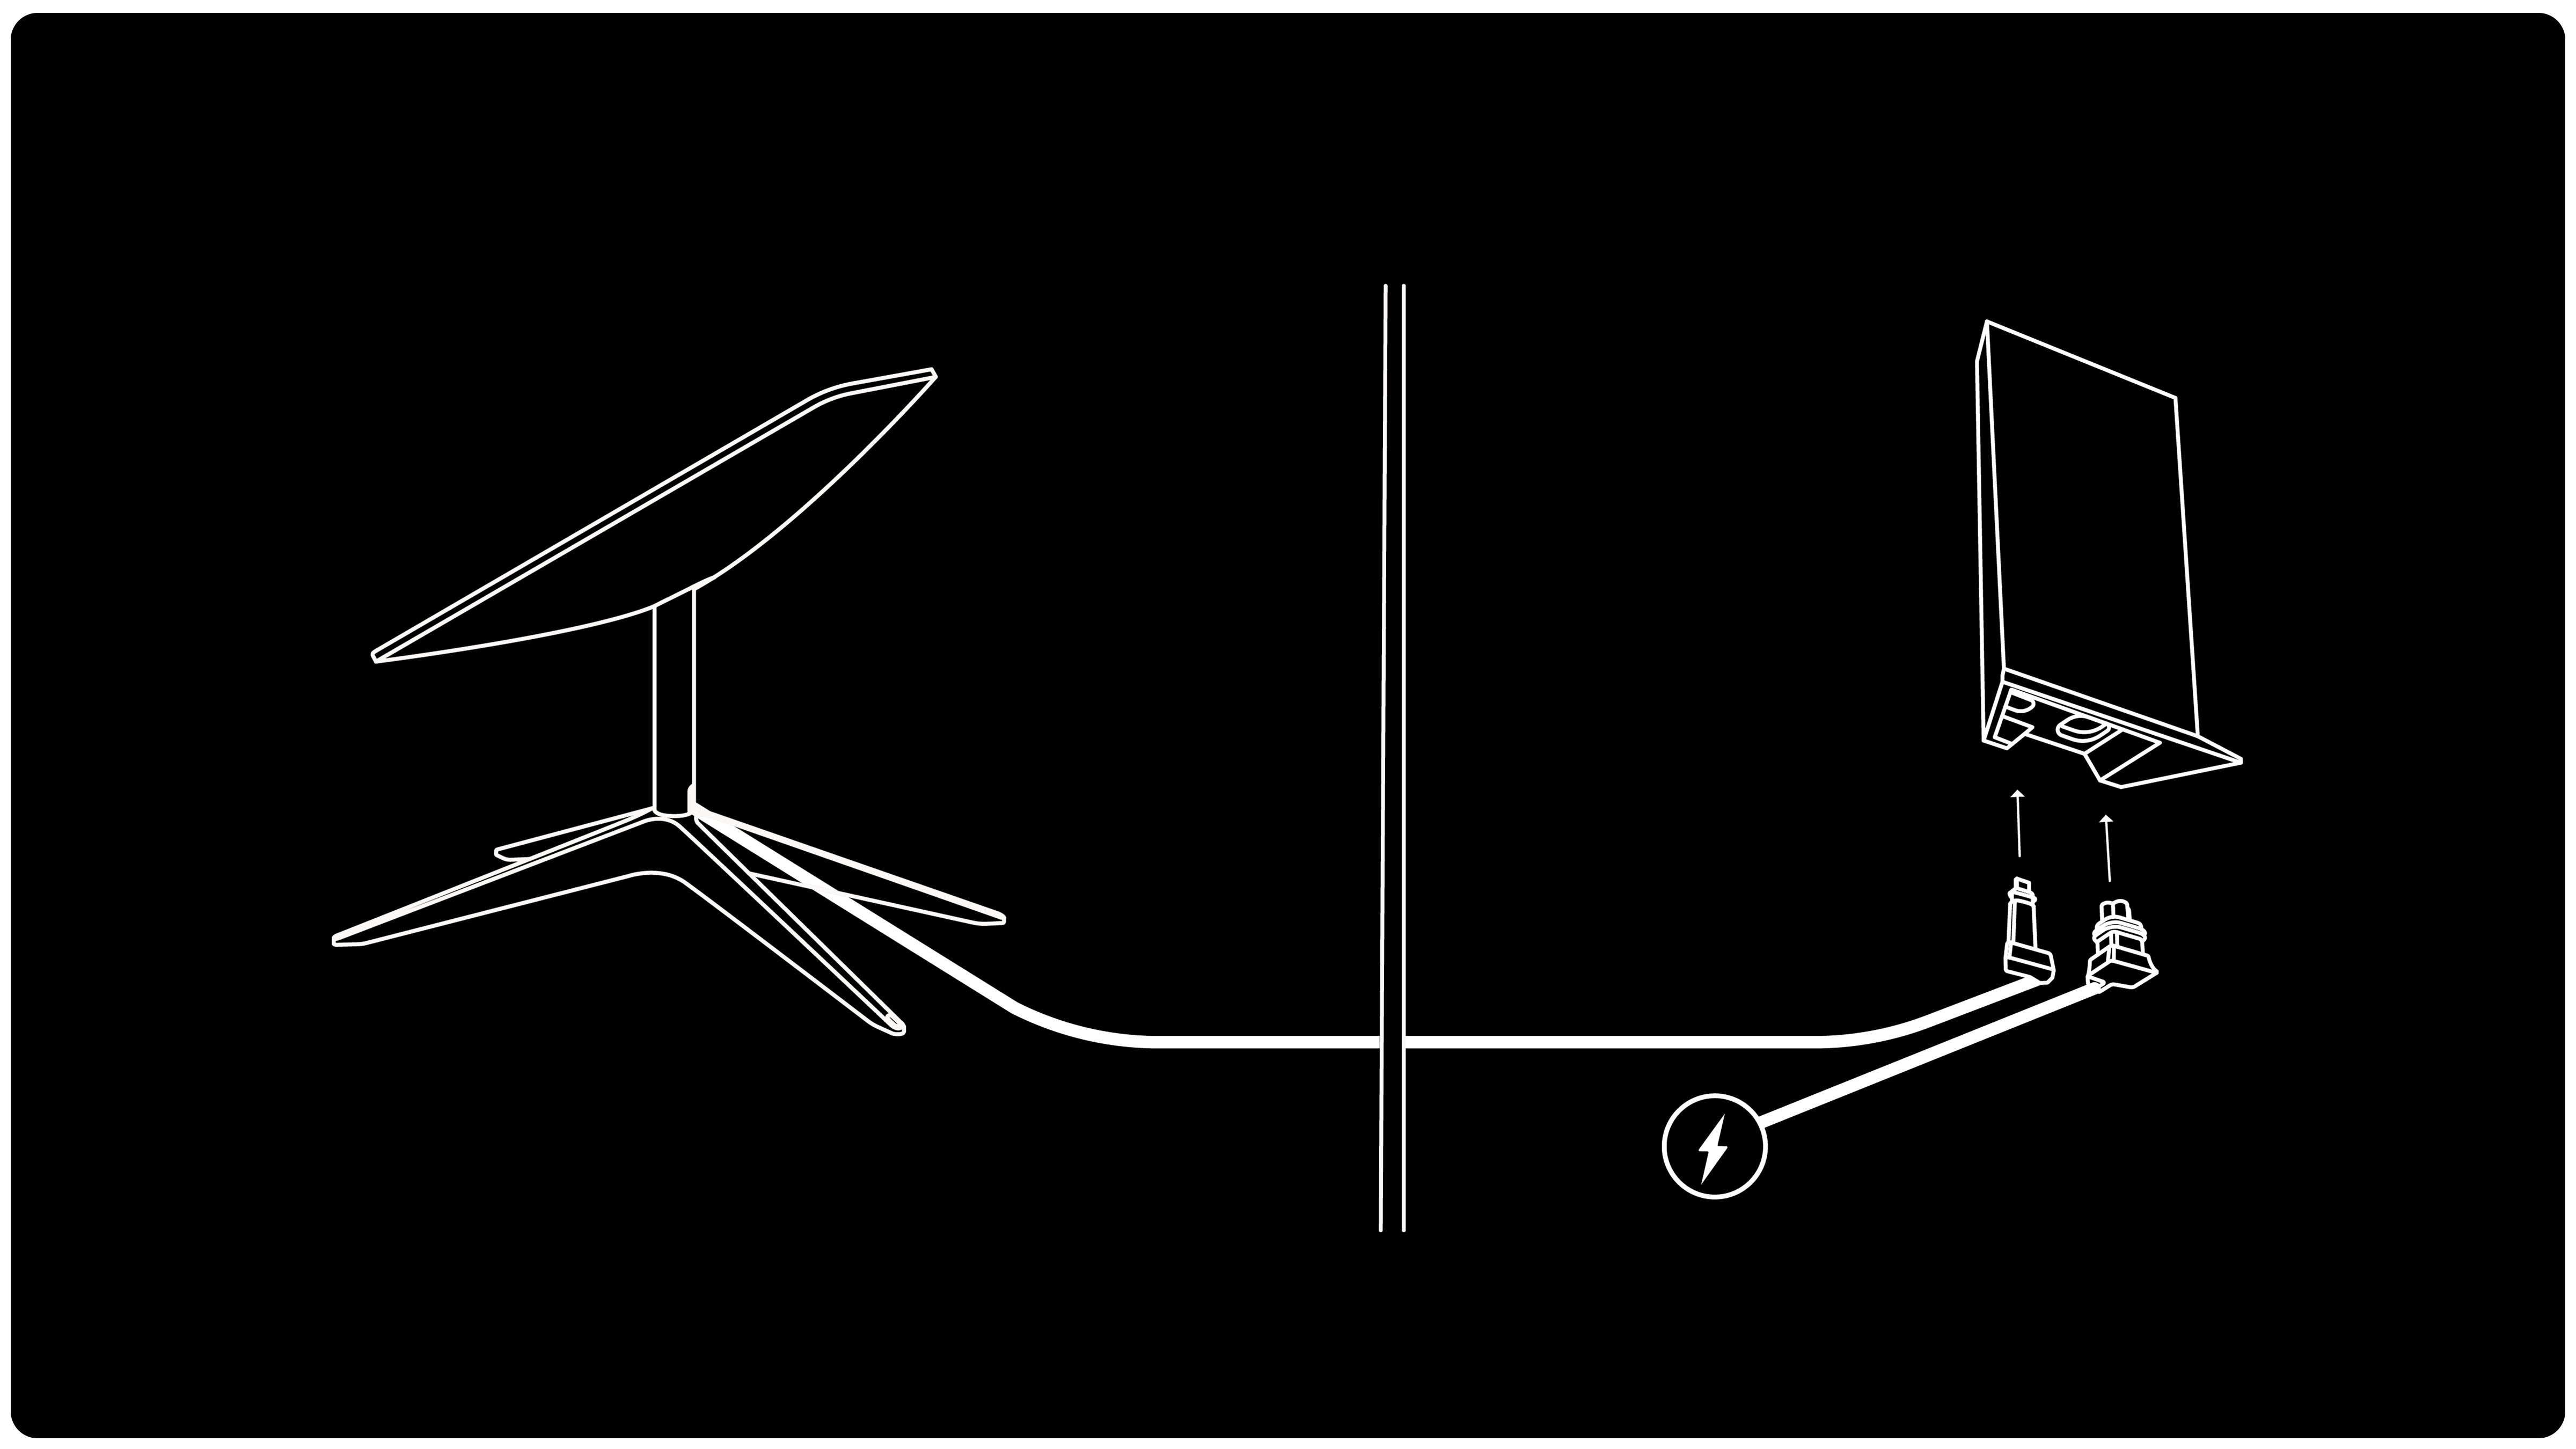
a. Plug in Starlink and place into the base (or into your selected mount)
b. Starlink will automatically level itself to search for satellites overhead. Do NOT attempt to manually adjust your Starlink.
c. After a few minutes, Starlink will make an initial connection to the Starlink constellation and tilt to the optimum angle for satellite coverage (slightly north or south based on your location in the northern or southern hemisphere).
3. Getting Connected
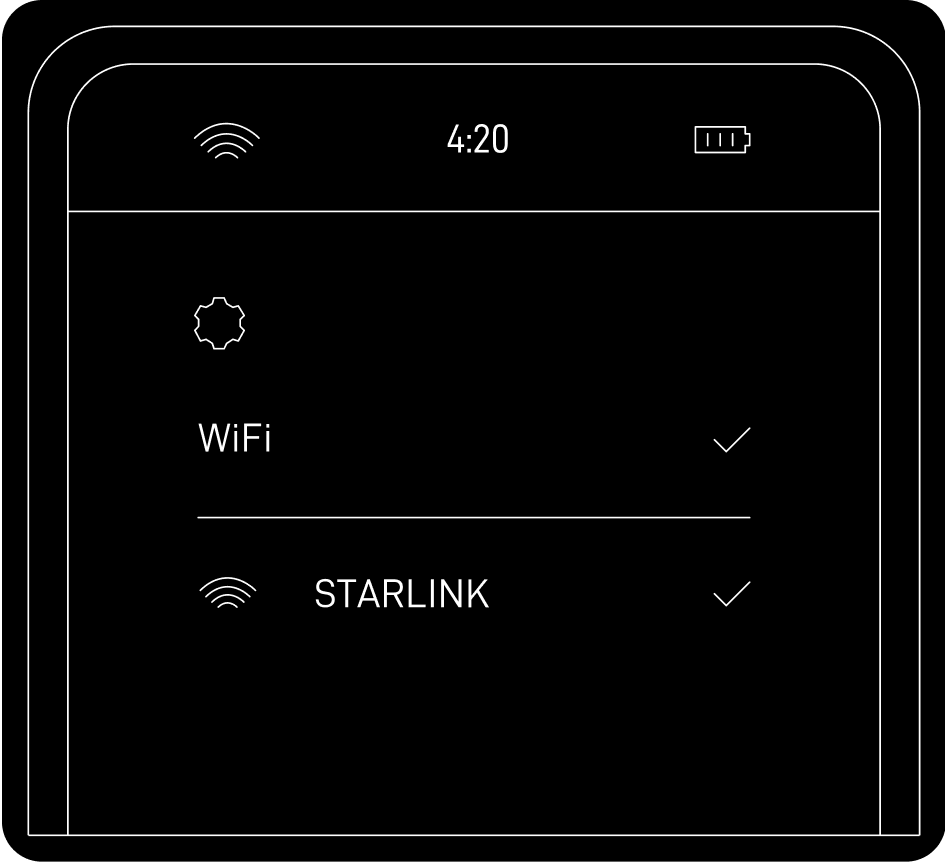
a. Connect to the STARLINK network from your device WiFi settings.
- ‘STARLINK’ is the router’s default WiFi network name (SSID).
b. To secure your Starlink WiFi network, use the Starlink App to rename your Starlink WiFi network and create a WiFi password. Open the Starlink App > Settings > Router > enter desired WiFi network name and password > Save.
- This step is optional, however we recommend securing your WiFi network. Your Starlink WiFi network is not password protected until you set the password.
c. You are now connected! To customize additional settings, check your connection, and more, visit the Starlink App.
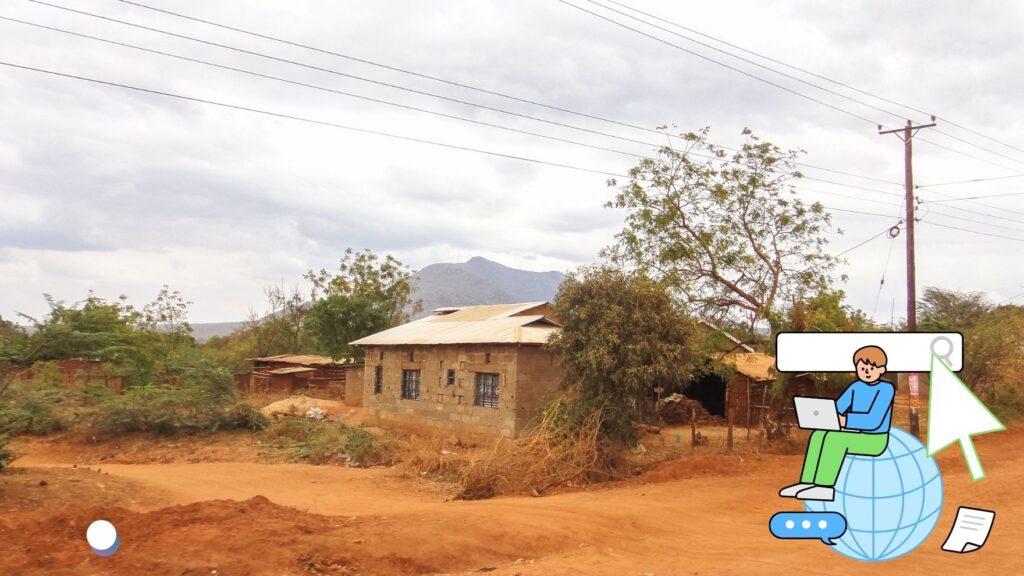
Ready to enjoy fast, reliable internet anywhere in Kenya? Boardtac Solutions is your trusted partner for Starlink supply, professional installation, and after-sales support. From site assessment to clean, secure mounting and activation, we handle it all—so you get seamless connectivity without the hassle. Contact Boardtac Solutions today and get connected with confidence.